
Kombucha is an ancient fermented tea beverage that is full of healthy goodness, such as probiotics and antioxidants. The beverage contains a colony of bacteria and yeast which is what ferments the tea. The bacteria and yeast is commonly known as a SCOBY which stands for symbiotic colony of bacteria and yeast. I get it, the terms “bacteria” and “yeast” don’t sound like something you really want in a beverage but it actually tastes fantastic and it’s a magical health elixir. Some of the things drinking kombucha can help with are:
- Immune boosting
- New cell production
- Improves physical endurance
- Calms the brain
- Detoxifies liver
- Helps arthritis
- Aids digestion
- Protects cells from damage
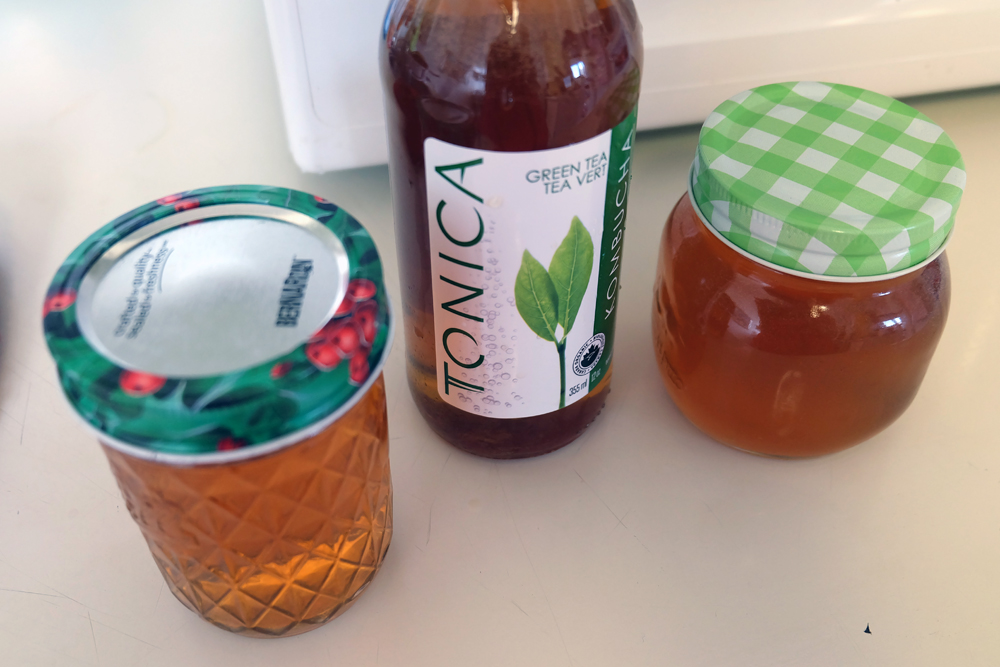
I tried kombucha for the first time this year and really loved the taste of it. I’m not a huge pop or sugary drink lover but often water gets boring, so this was a great alternative. However, there is a downfall. Kombucha is pretty pricey to buy in store just like most healthy foods/drinks. So when I started to drink it more and more I realized I couldn’t really keep up with this expensive habit.
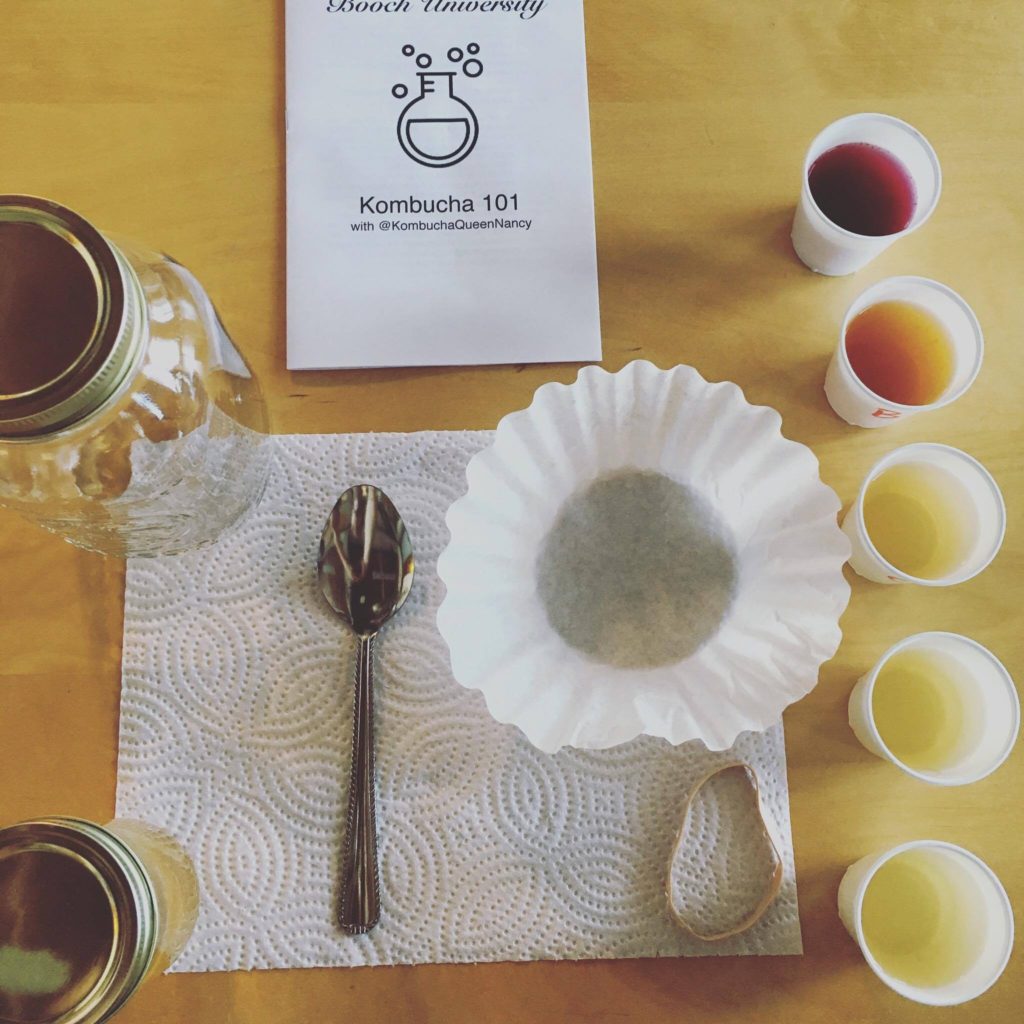
Thankfully I heard it was actually quite easy to make your own. I found a workshop in Toronto that would teach me how to make it with the self-proclaimed “Kombucha Queen”, Nancy Silverman. Her evening course was only a couple hours and I had the chance to learn more about this beverage I had grown to love, and also left with my first batch and my very own pet SCOBY. I’m calling it a “pet” because it is a live culture which you have to take care of or it will die.

For some people learning how to make kombucha may completely gross them out. A SCOBY looks like a blob of jelly/goo (photographed above) and it’s pretty gross to think about it sitting in what you are going to drink. However, if you’re not easily grossed out, learning how to make kombucha yourself can be a great long-term investment. Not only will you soak in the health benefits but you’ll also save a lot of money. You’ll seriously be blown away at how easy kombucha is to make.
Here’s a rundown of how it’s done…
What you’ll need:
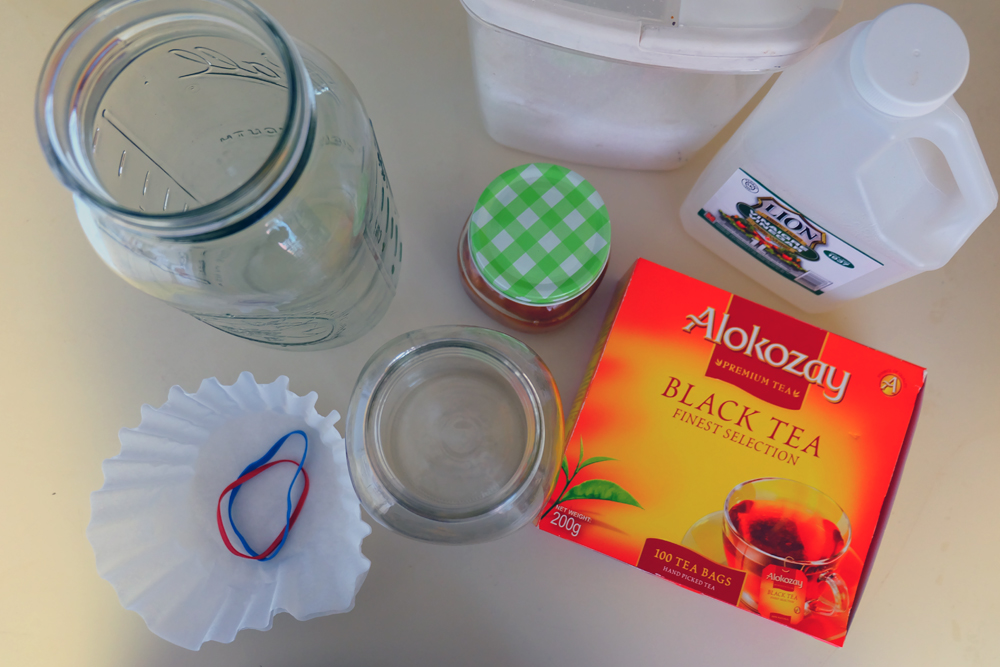
- Tea! You can use any tea as long as it’s not flavoured. So stick to the basics like green, black, white, jasmine or oolong tea.
- Water (pretty self-explanatory)
- Sugar (plain white granulated sugar works but you can also try brown or cane)
- Vinegar
- Medium/larger mason jar
- Coffee filters
- Elastic band
- Spray bottle
- SCOBY
I know when you see sugar on the ingredient list you’ll get a little concerned on how this will be healthy, but your SCOBY feeds off the sugar and needs it to survive. By the time your fermentation is done you’ll hardly have any sugar in the final product. In terms of your SCOBY you’re probably wondering where on earth you get one. Here’s the thing, getting a SCOBY is like being part of a secret club, because in order to get one you need to know someone who also brews kombucha. Almost every batch you make you’ll grow another SCOBY depending on how long you ferment for, so kombucha brewers often have quite a few! This is where taking a workshop can be helpful too because you’ll leave with your own SCOBY.
Once you gather your ingredients here’s what you’ll do:
- Brew your tea! Use two bags of tea with two cups of boiling water and put it in your mason jar to brew for around ten minutes.
- Once your tea is brewed, pour in 1/4 cup of sugar and stir until dissolved
- Pour in 1/2 cup of white vinegar and stir
- Add 1 cup of distilled water
- Let stand so it cools down to room temperature. This is super important because extremely hot or cold temperatures can kill your SCOBY!
- Once it’s cooled, add your SCOBY
- Put the coffee filter on top of your jar instead of the lid, and secure it with an elastic
- Fill your spray bottle with white vinegar and spray the top of your coffee filter. This helps prevent bad bacteria growth but is just an added precaution and not necessary.
Once you’ve completed the above steps, put your jar somewhere cool, dark and somewhere that you won’t (or your family won’t) be tempted to move around the jar too much. It’s best to leave your jar sitting still. You can leave your batch from 7-14 days but the longer you leave it the more vinegary it’ll taste so don’t be afraid to stick a straw in and give it a taste after a few days. If it tastes like sweet tea then great, you’re ready for fermentation number two.
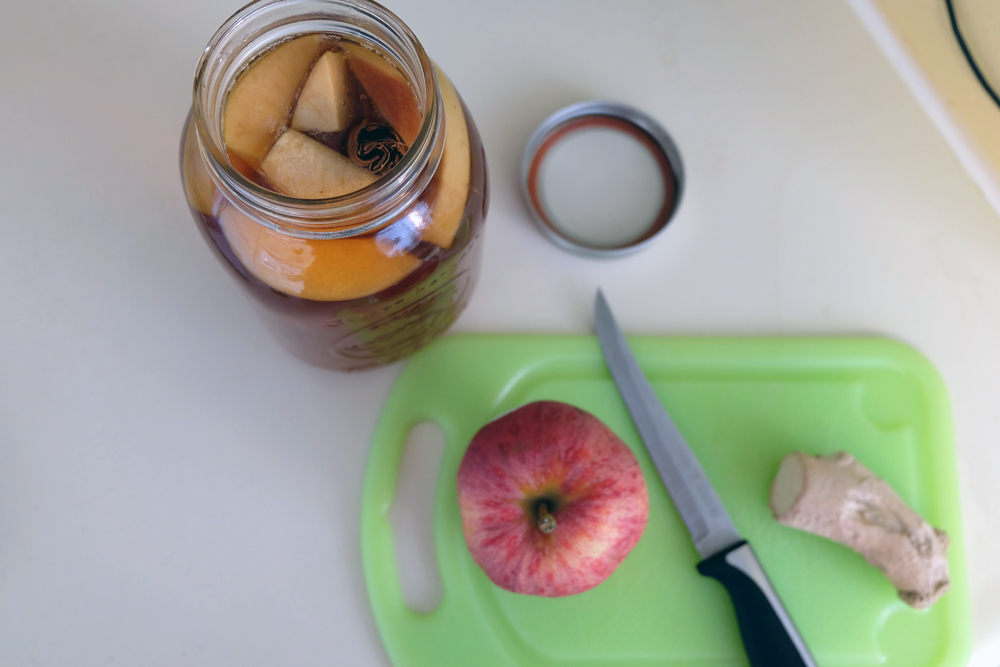
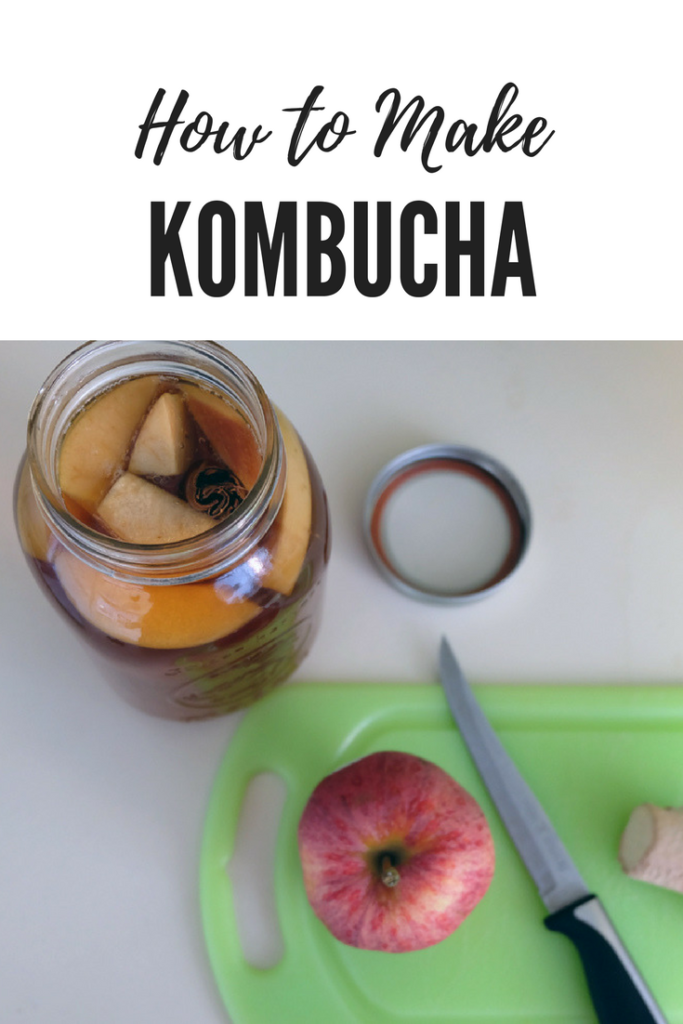
Fermentation number two is essentially just for the flavouring of your kombucha. You can definitely drink it after one fermentation if you don’t want a flavour! However, if you want your brew to be more flavourful, then here’s your chance to get creative and experiment. You can flavour your kombucha with fruits or herbs, have fun with it to discover what flavour combinations you like best. Here’s a step-by-step for the second fermentation:
- Take out your SCOBY and pour it into a seperate jar with a bit of your sweet tea mixture (enough to cover the SCOBY).
- Add in your fruit or herbs. If you’re using fruit or herbs that has less sugar, for example ginger, then add about a tablespoon more of sugar. Ensure your fruit is room temperature.
- Tighten the jar lid on the top of your jar and let sit for around four days.
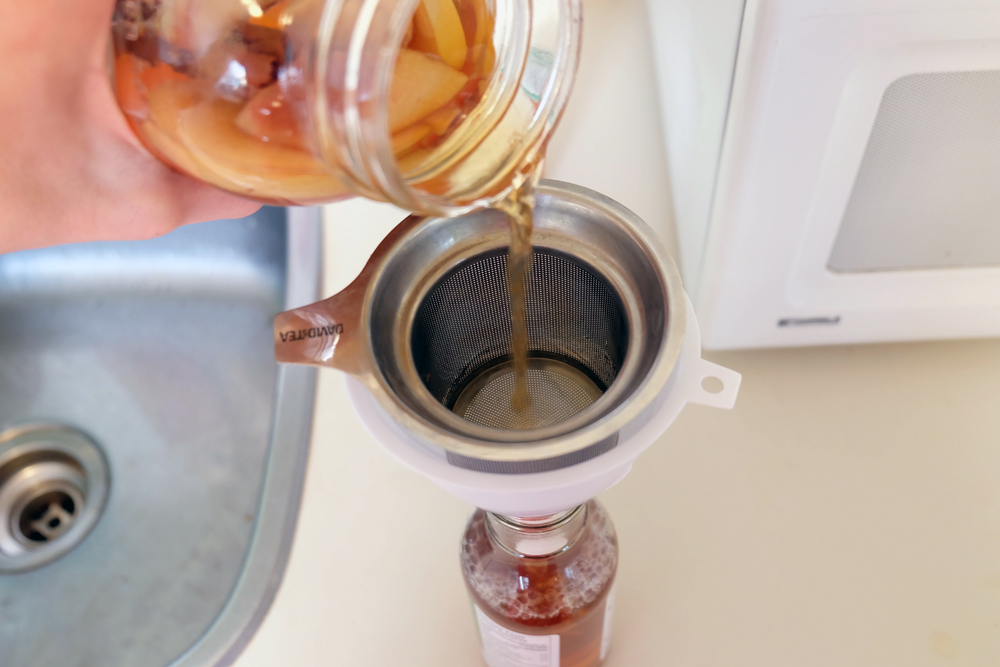
After four days, strain the fruit out of your mixture, bottle it or put it into smaller mason jars, and refrigerate for up to two weeks. One thing to note as there will be one significant difference between your kombucha and the one you buy in the store. Store bought kombucha is pumped with CO2 which makes it bubbly and carbonated. When you brew your own you’ll have less carbonation, however I like to mix half kombucha and half sparkling water any way as I feel home brewed kombucha is also very strong tasting on its own. You decide what’s best for you!
Although I personally haven’t really noticed the health benefits kombucha has had on my body, I have friends who have noticed that their skin has improved, digestion problems have gotten better, and overall they feel like their insides are happier. From this article you can probably see that kombucha is super easy to make on your own, but I still recommend taking a course just to ensure you are making it correctly and also you’ll learn so much about this drink. I knew almost nothing about it prior to my workshop, I just knew I liked it!
So there it is, a little non-travel related post to share some insights on what makes this beverage so yummy and good for you. Also, it can be fantastic to drink leading up to a trip to keep your insides happy!
Happy brewing 🙂
Pin the below image to save this for later.


No Comments